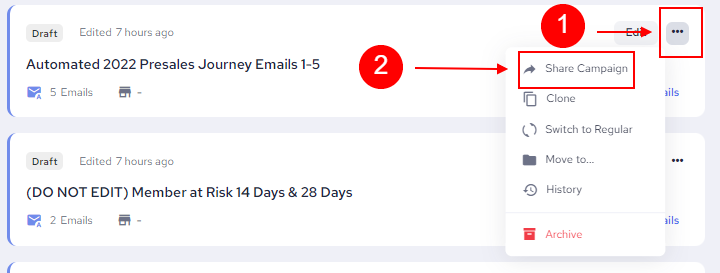
- Automated Campaigns are options to automatically follow up with clients whenever a certain condition is met, such as: following up after a membership purchase, or following up with clients that haven’t visited in a certain amount of days.. And so on.
To create an Automated Campaign, you need to:
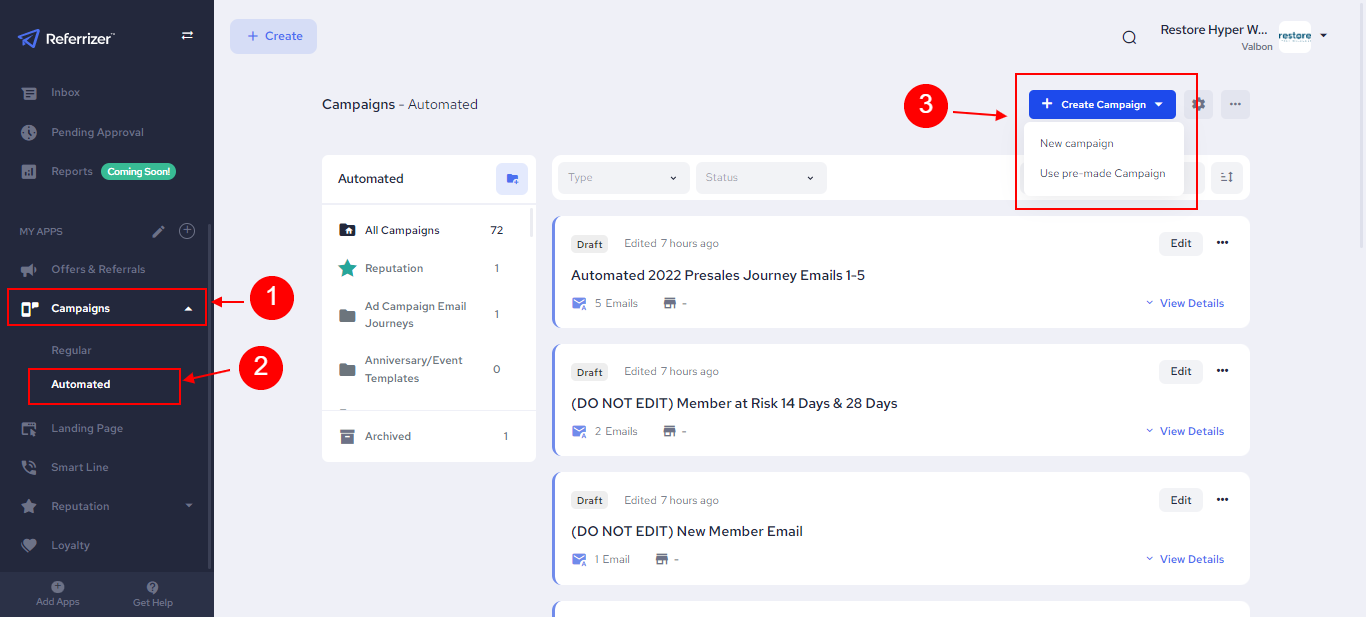
1. Navigate Campaigns on the side bar menu
2. Select the kind of campaign you want to create (Regular or Automated) from the dropdown on the sidebar menu
3. Click on “Create Campaign”
a. To build a new campaign from scratch click on “New Campaign”
b. To use a pre-designed template click on “Use pre-made Campaign”
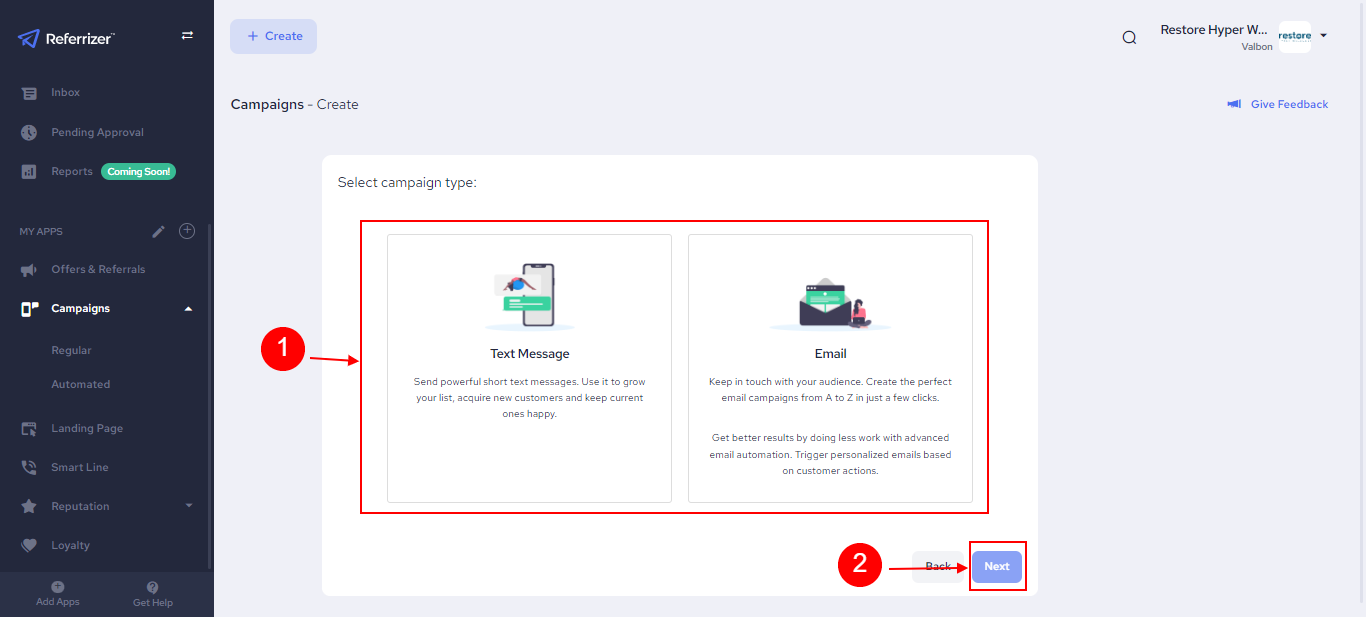
- If you chose to create a campaign from scratch, the next steps are going to be:
1. Choosing the type of campaign you want to create (Text or Email Campaign)
2. Click on “Next” at the bottom right hand side of the screen
- After you choose the Type of Campaign you want to create, you need to:
1. Give your campaign a title (this part is visible on the backend only so you can easily navigate and find the campaigns later on your account)
2. Click on “Next”

- When creating an Automated Campaign, you can:
1. Run the Campaign from the HQ control account on behalf of the stores
2. Or share the Template with the store and they can choose whether they want to run it or not
- If you want to run it from the HQ control account on behalf of the stores, you will need to:
1. Set up the Start Trigger for the Campaign
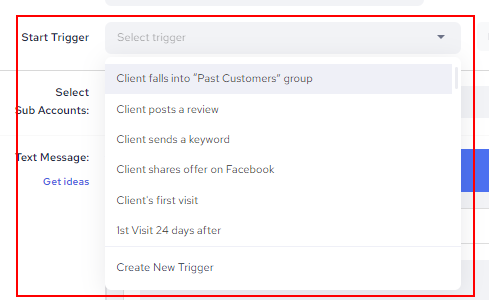
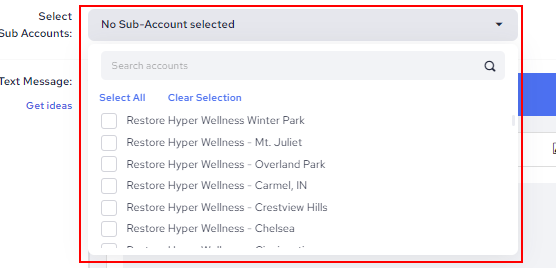
2. Select specific sub accounts (stores) you want to run it for or all of the stores
1. Clone the campaign in the sub accounts
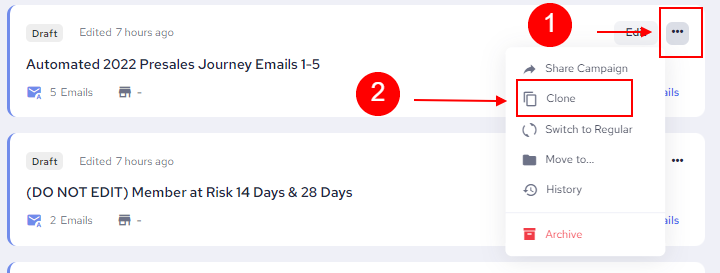
a. Click on the three dots on the right hand side of the campaign you want to distribute
b. Click on “Clone”
c. Search for the store you want to clone the template on
2. Share the campaign template link with the store via email or any other form of communication
a. Click on the three dots on the right hand side of the campaign you want to distribute
b. Click on “Share Campaign”
c. Copy the link and send it to the store managers / owners
