Here's how it works:
STEP 1 - Create New Folder
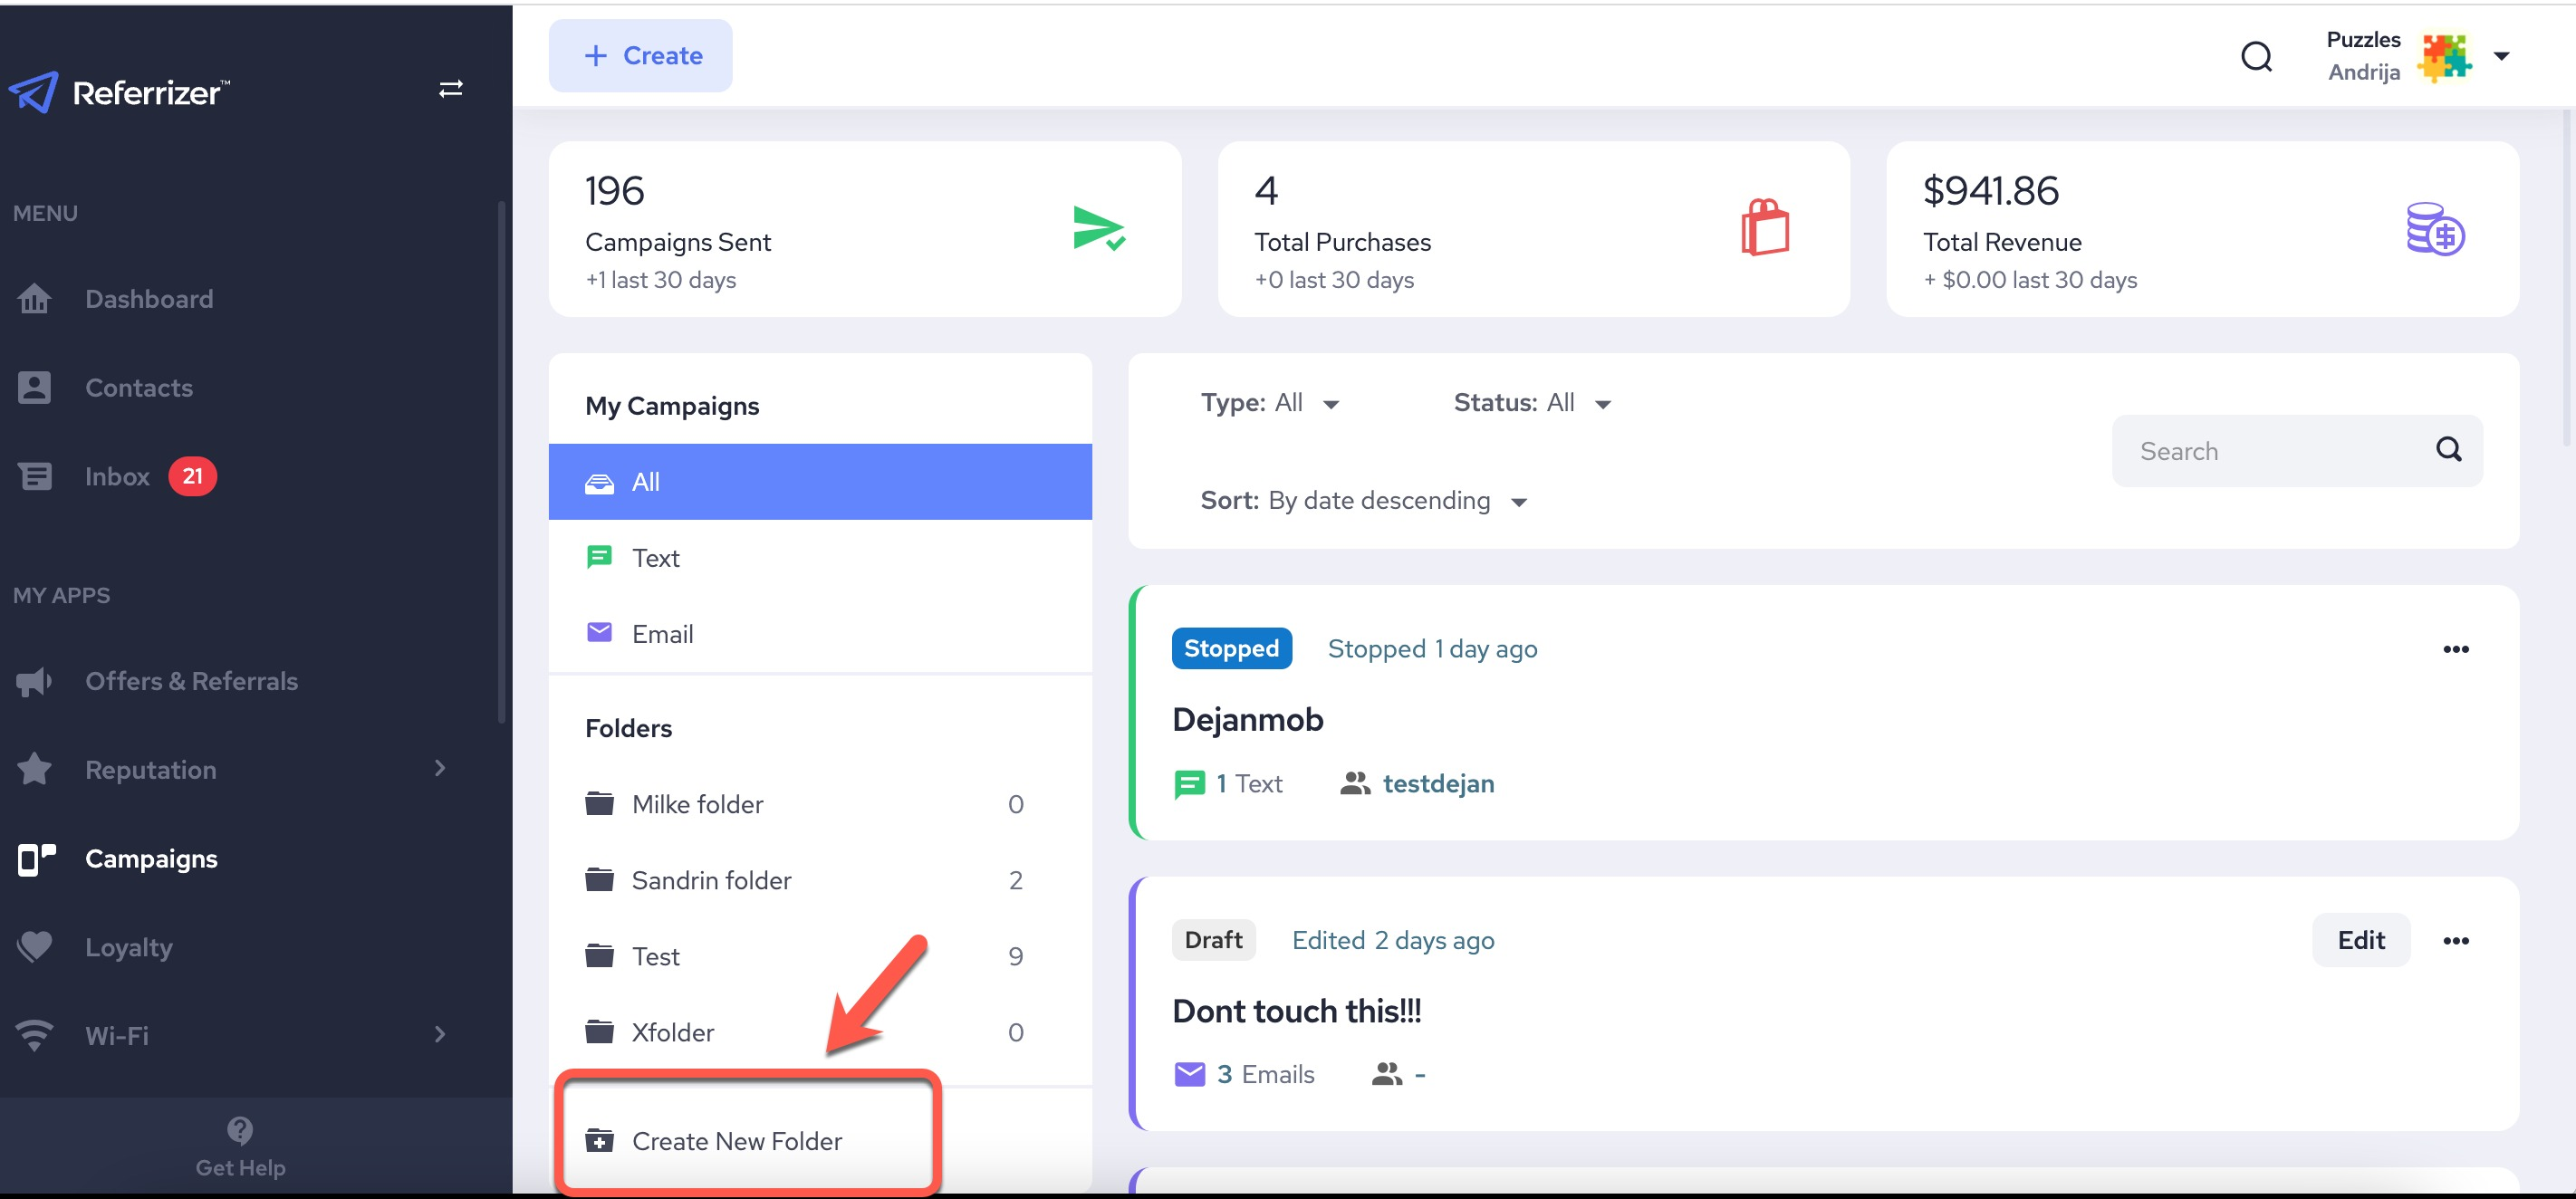
1. First, click Campaigns on the left hand side from your account.

On the left in the Folders section, click on Create New Folder.
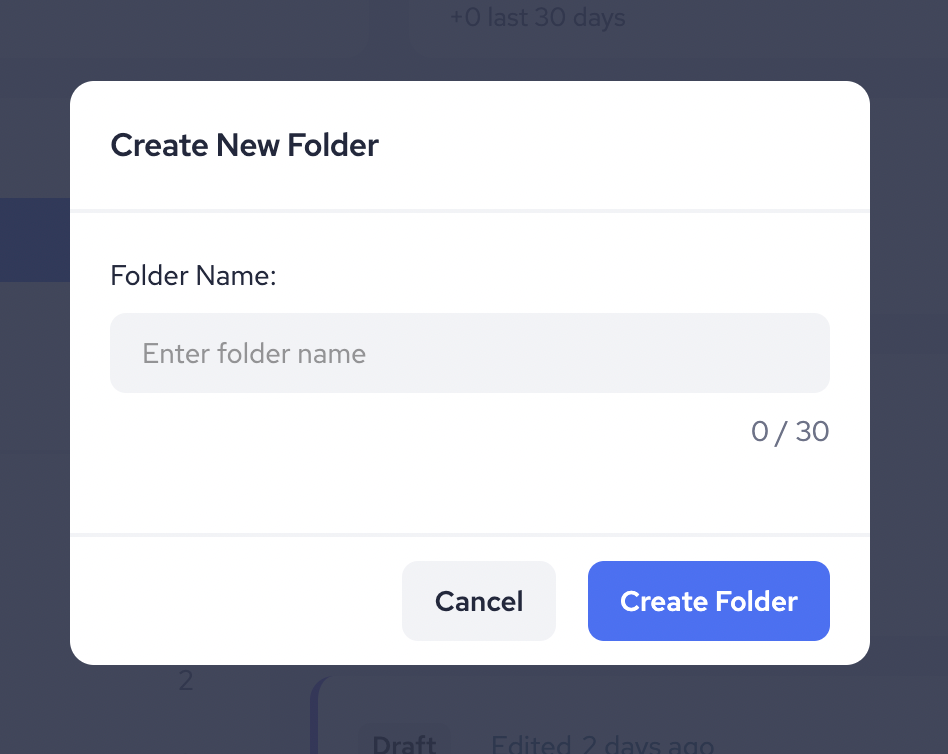
2. Name your Folder and then click Create Folder.
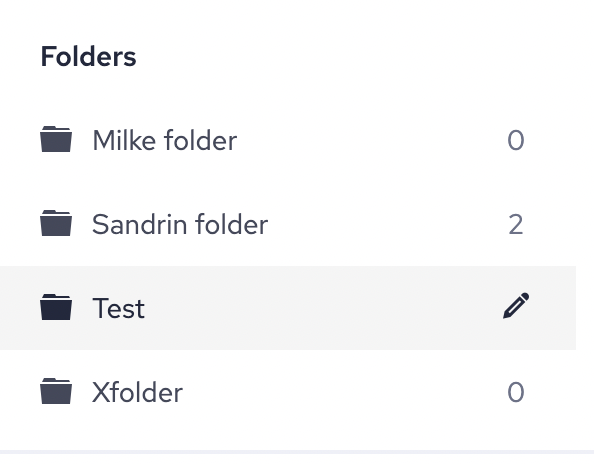
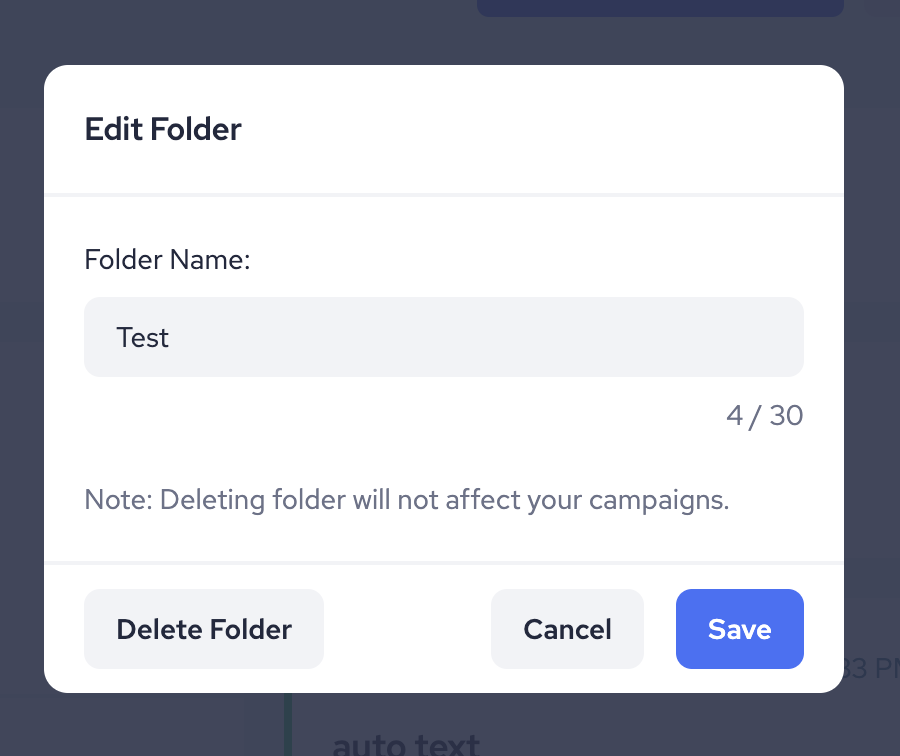
3. A new folder will be created. By clicking on the pencil icon you can change the name of your folder or delete it.
STEP 2 - Moving Campaigns to Folders
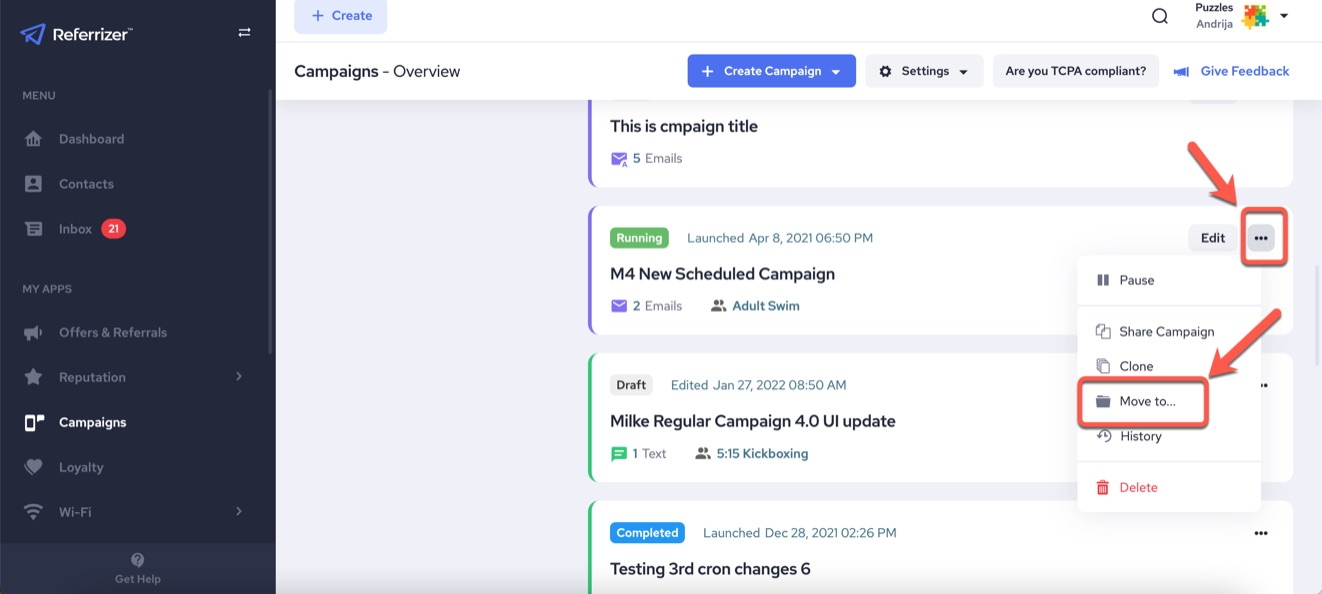
1. Click on the 3 dots on the far right for the campaign you want to move.
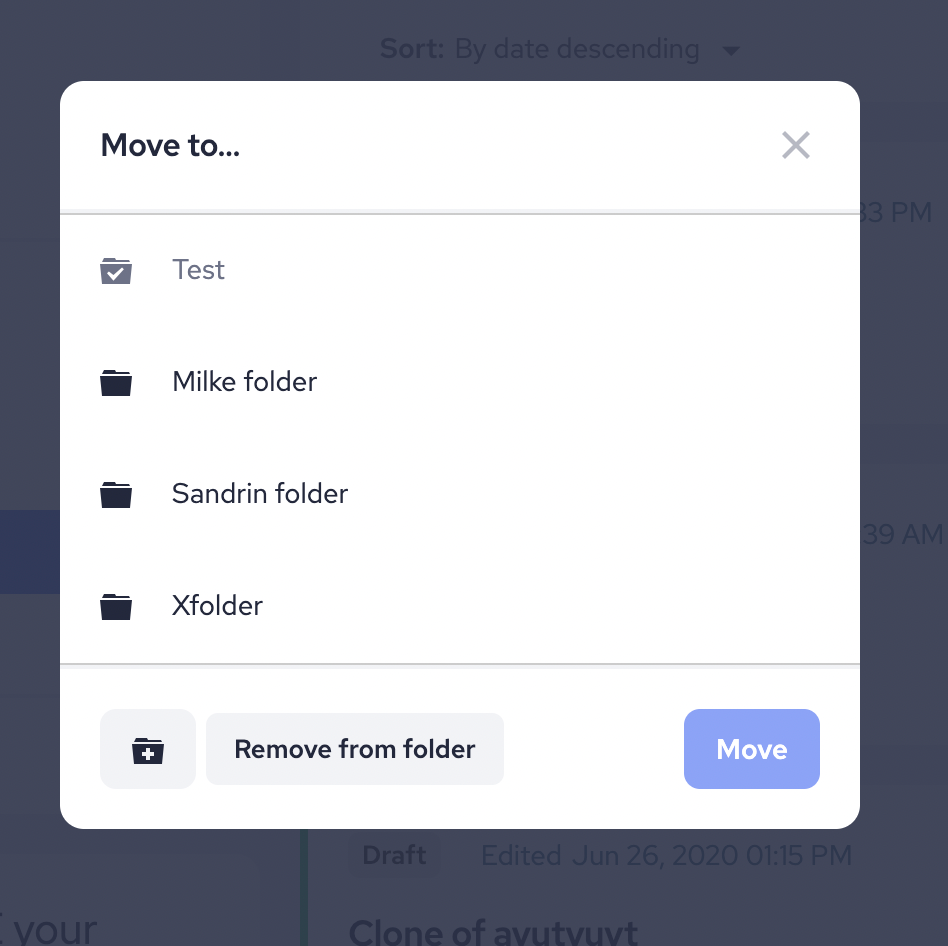
2. A dropdown list will appear. Click on the option "Move to..."
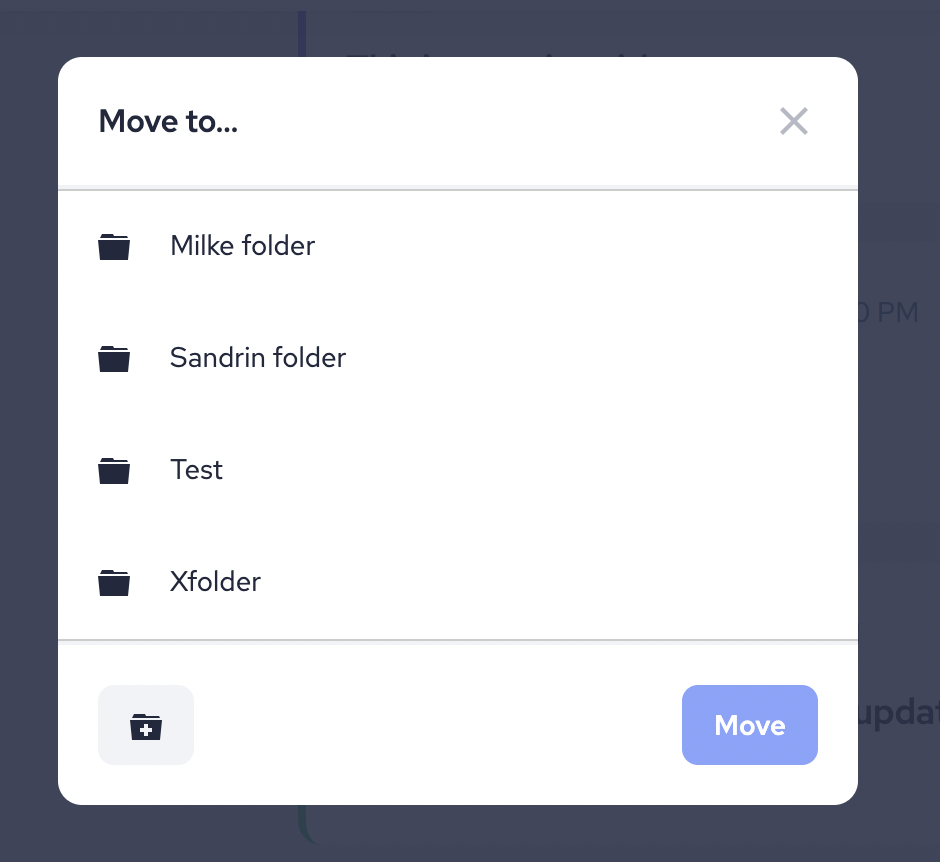
3. Choose which folder you want to move your campaign to, then click Move to...
4. If you don't want to move your campaign to any of the available folders, click Create New Folder, and after you create it, move the campaign there.
STEP 3 - Remove a Campaign from the Folder or move it somewhere else.
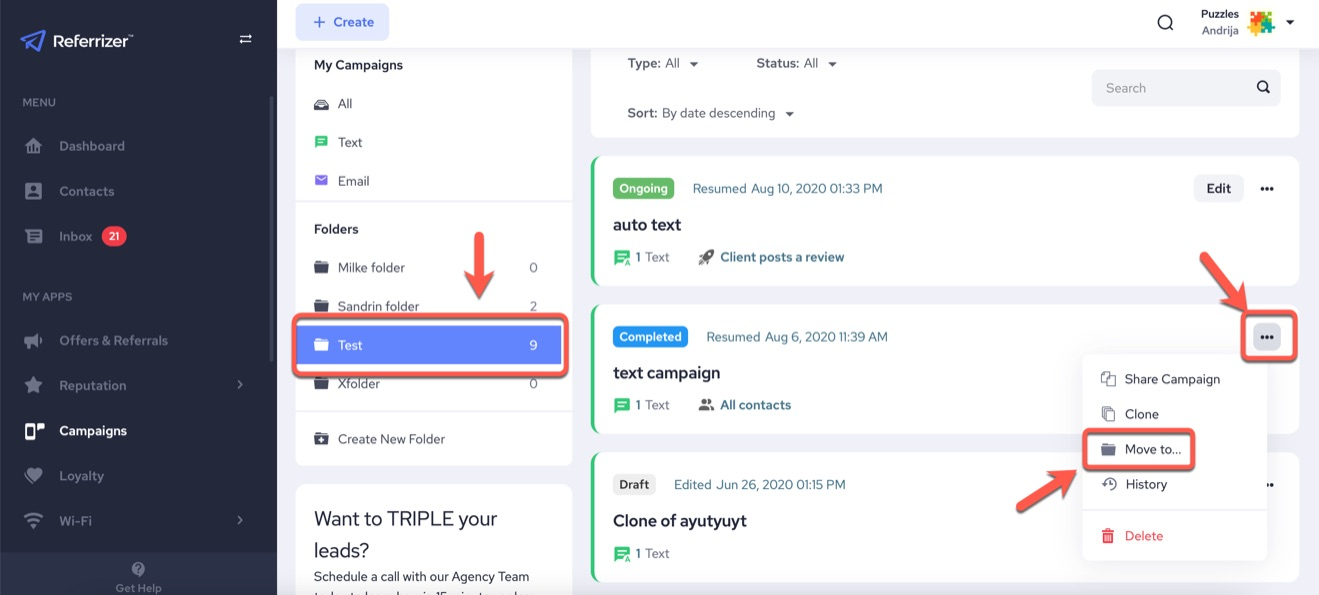
1. Open the folder that contains the campaign you wish to remove (or move it to another folder).
2. Click on the 3 dots on the far right for that particular campaign.
3. Click Move to...
Choose between these options:
- Move the campaign to another folder.
- Create a new folder and move the campaign into it.
- Remove the campaign from the current folder.