Adding automation to your pipeline columns in a business or sales context can provide several benefits that streamline processes, improve efficiency, and enhance customer experiences. Automation eliminates the need for manual data entry and movement of contacts between columns. This saves time for your team members, allowing them to focus on more strategic tasks rather than routine administrative work. With automation, contacts are consistently and accurately moved through the pipeline based on the established criteria. This results in a standardized process, reducing confusion and ensuring that every contact is treated always.
The Pipeline automation is supported by the following integrations: MindBody, Peak, POW, Acuity Scheduling, and Club Ready.
Follow the following steps to set automation for your pipeline:
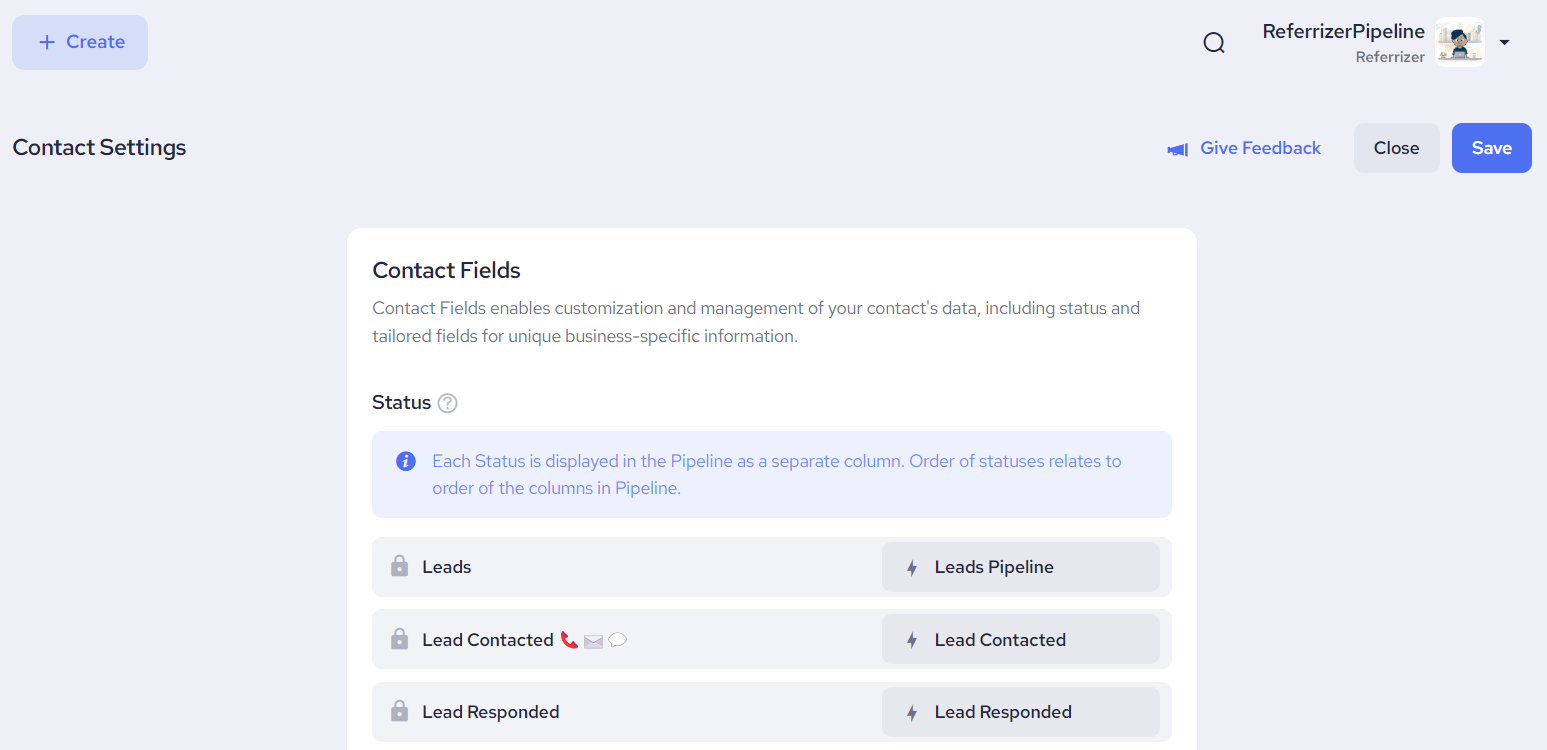
1. Go to your Contact Settings page. Instructions on how to reach this page via pipeline you can be found here.


Keep in mind that all statuses created by Headquarters accounts can not be edited from other than that account. However, the preview of these triggers will be available.
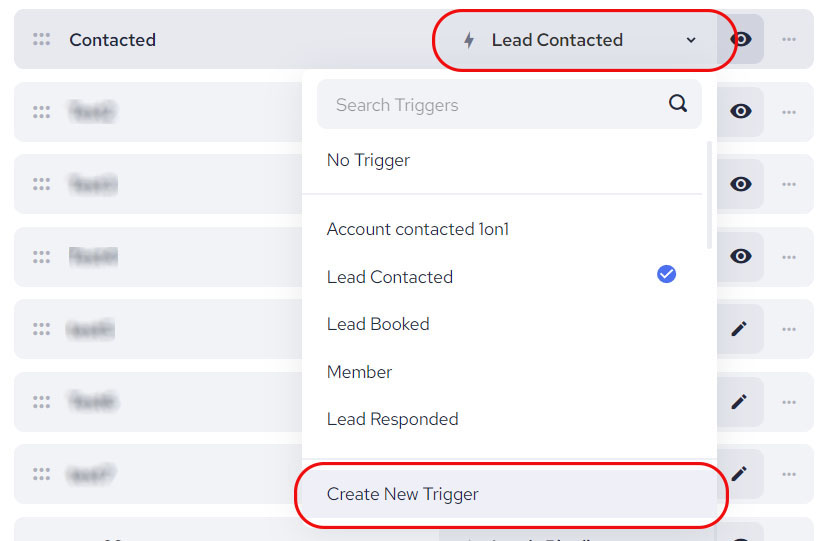
2. The automated flow of your leads is determined by triggers associated with specific statuses. Each status element includes a field with the name of the assigned trigger. Clicking on this field will display a list of triggers you've previously created. If you haven't created any triggers yet, you'll find the option 'Create New Trigger.'
When you select a trigger from the dropdown list, the automation will be configured for that particular status.

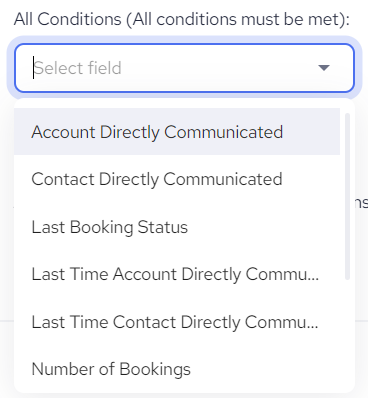
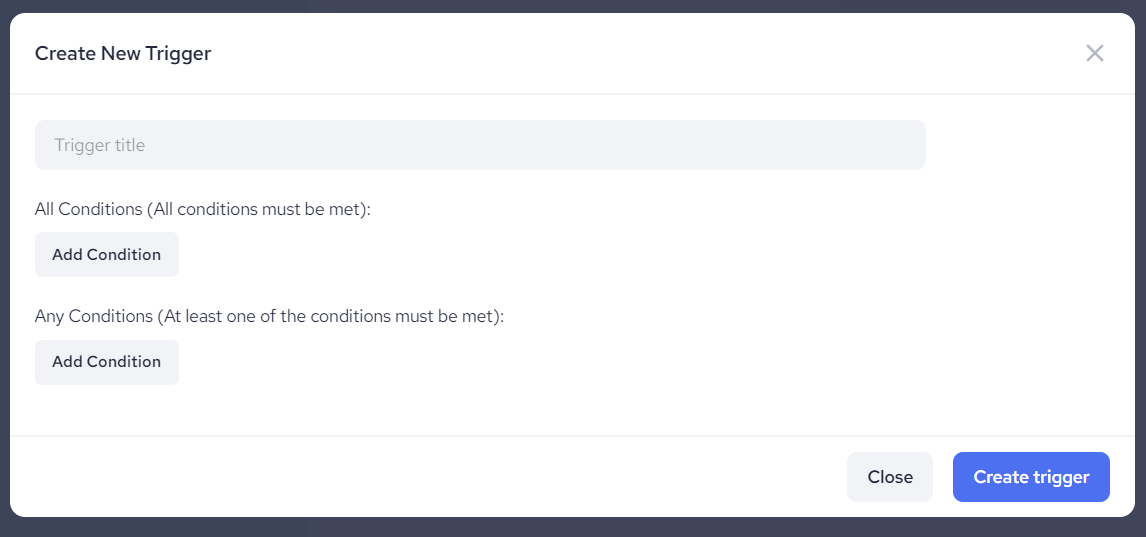
3. When you click on the 'Create New Trigger' button to set up a new trigger, a popup window will appear. This popup offers the same functionalities as the one on the Contact List view page. However, the list of conditions available here is tailored to closely align with the lead journey flow. If you happen to notice that a specific condition you need is missing and essential for your business requirements, you can use THIS LINK to send us your suggestion. We will promptly consider adding it to the list to accommodate your needs.


4. Clicking on 'Create trigger' will confirm adding a new trigger to your list.
Your status elements have some additional functionalities. For more details check here.