This article explains how to set up SMS and email notifications to keep you informed whenever the AI Assistant interacts with your customers, such as when a human response is needed or when there is an update to your bookings (e.g., new, rescheduled, or canceled appointments).
Follow these steps to enable SMS and email notifications:
1. Got to the AI Assistant Settings page
2. Locate the Notification Section: Scroll down to the Notifications sections
3. Enable SMS Notifications: Toggle the switch next to SMS Notification to enable SMS alerts.

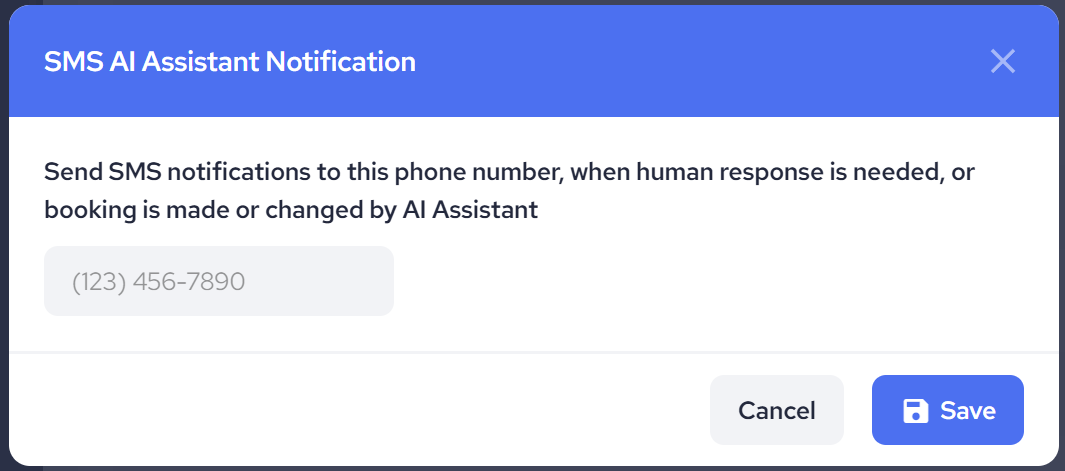
4. Once the toggle is switched on, click the Edit button that appears next to the SMS notification option.
5. A pop-up window will appear allowing you to enter the phone number where you want to receive SMS notifications. Enter your phone number and click Save. Note that only one phone number can be added.

6. Enable Email Notifications: In the same Notifications section, toggle the switch next to Email Notification to enable email alerts.

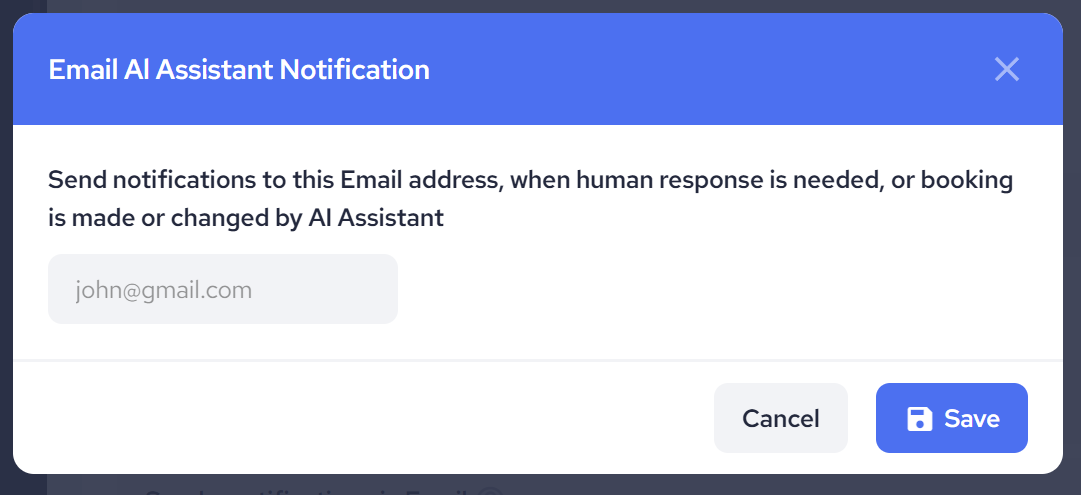
7. Click the Edit button next to the Email notification option
8. A pop-up window will appear allowing you to enter the email address where you want to receive notifications. Enter your email address and click Save. Only one email address can be added.

You can enable both SMS and email notifications to ensure you are promptly updated on customer interactions and booking changes.
Remember, you can only add one phone number and one email address for notifications.