Multi-location campaigns simplify launching personalized campaigns across multiple locations, ensuring replies go directly to each location instead of a central contact.
Key Features of Multi-Location Campaigns
- Simplified Campaign Management
- Personalized Messaging
- Corporate Control
Steps to Create and Launch a Multi-Location Campaign
1. Access the HQ Account
- All multi-location campaigns are created and launched from the main HQ account.
2. Create the Campaign
- Follow the same campaign creation process as for an individual account. (Refer to this article for detailed instructions on campaign creation.)
- Use variables to make the campaign content dynamic and location-specific. Available variables include:
- Access the list of available variables under the “Insert Variable” dropdown for text campaigns or the “Merge Tags” dropdown for email campaigns.
- If the provided variables don’t meet your needs, you can create custom variables for additional personalization.
3. Finalize Campaign Content
- Ensure the content is universally applicable and relevant for all selected locations.
- Personalize content using variables where necessary.
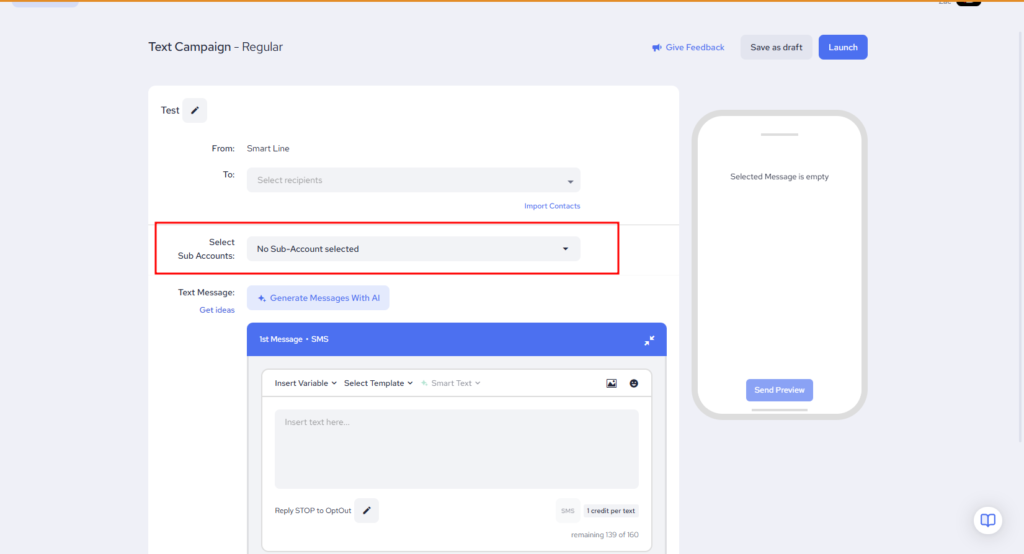
4. Select Locations
- Choose whether to send the campaign to all locations or a specific subset.
- Adjust the recipient list based on your campaign goals.
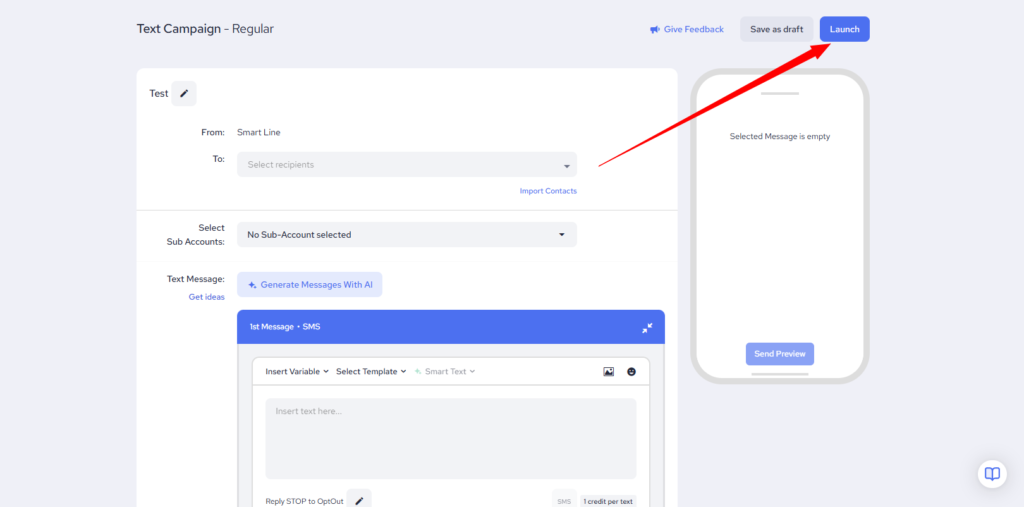
5. Schedule the Launch
- Set the desired date and time for the campaign launch.
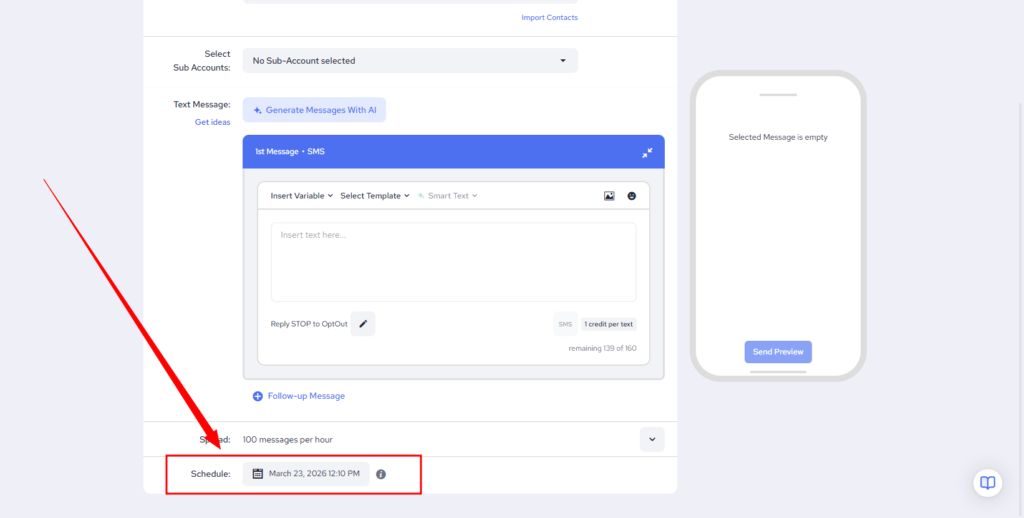
- Click the “Launch” button to finalize.
6. Campaign Distribution
- The system clones the campaign into each selected account.
- Campaigns are sent:
Important Considerations
- Content Relevance
- Locked Campaigns
By following these steps, you can efficiently manage campaigns across multiple locations while maintaining a personalized and professional approach.
Campaign Edits
If sending only on behalf of select locations, make sure to select all. Once campaign is running, you will not be able to edit it and add additional locations.